Sunday, April 17, 2022

Spellbinder's Hollyhock

Hi everyone. Today, I have another floral card to share. This time, I am showcasing the new die set from Spellbinders' April release, Hollyhock Etched Dies from Through The Garden Gate Collection by Susan Tierney-Cockburn.


I love flowers, but am not what you call as having a green thumb. Learning though. Hah! So, meanwhile till I get the hang of it, I can always do paper gardening. :) Here, I die cut the flower & leaves pieces and assemble them. Before adhering all the pieces together, I stamped the card base with flower stamp set that came in August 2021 Spellbinders Card Kit of The Month.


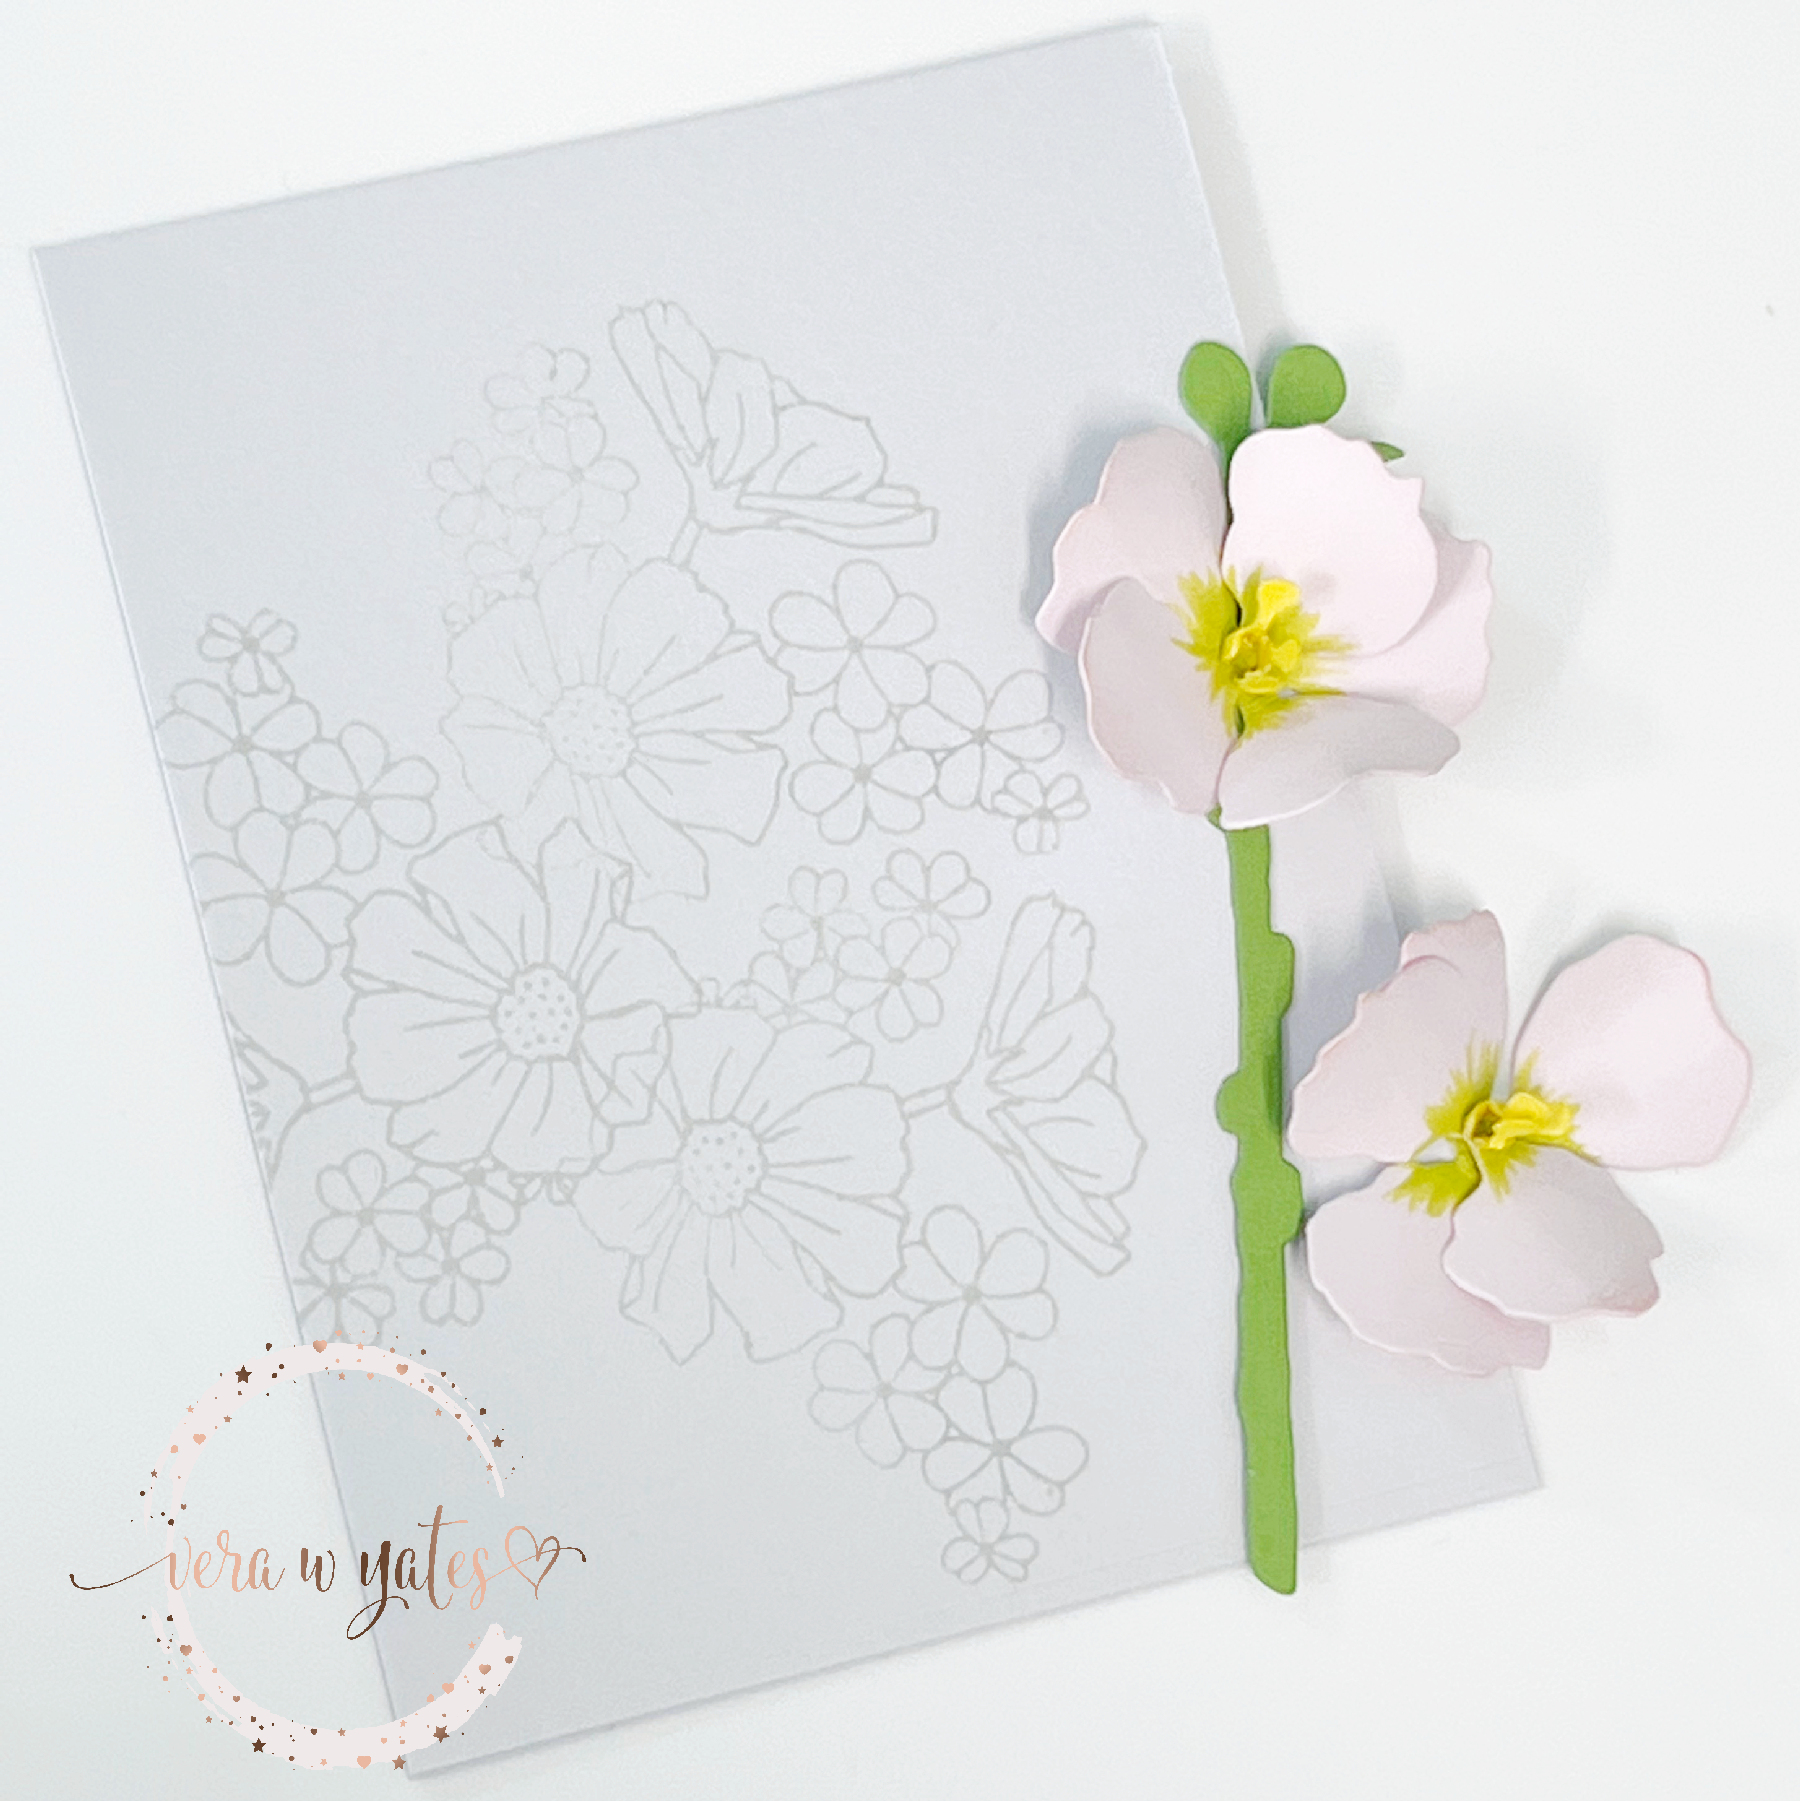
Then, I adhere all the flower pieces together, stamp the sentiment & finished by adhering some rhinestone. If you get any of Susan's flower dies and not sure how to put them together, just check out her YouTube channel. Once you get the hang of it, these flowers come together pretty quick and yet, the result is anything but simple.


I hope you enjoy today's card. And, I wish you all a very happy Easter to all of you who celebrate it. May your day be a good one.

Thursday, April 14, 2022

Spellbinder's Gardenia

Spring is definitely my favorite time. The nice weather and top it off with flowers start blooming every where. Granted the allergy is not so fun, but that's something that's pretty easily managed, right? I love seeing the green grass and this year, I am happy that some of my flowers made it through Texas winter.

Speaking about spring, I am so excited that Spellbinder's April release is full with gorgeous sets that are totally perfect to celebrate spring. For today's card, I am sharing one of my favorite flower, Gardenia. This Gardenia Etched Die is part of Through The Garden Gate Collection by Susan Tierney-Cockburn.


Whenever I play with Susan's flower dies collection, I always start by creating the flowers and everything else decided after the flowers completed. Here, I used all white cardstock to create the Gardenia. For the inner piece, I simply colored them with Copics. For the leaves, I used green cardstock. I decided to pair it with Be Bold Blooms set.

Using post-it-not tape, I blocked the edges of the card base and blend in green and blue ink to create soft gradient background. Let the color tapered off. Before adhering the flower, I want to make sure I have enough room for the sentiment. I die cut the birthday sentiment using Yana's Layered Script Sentiments Etched Dies. For the word happy I used Be Bold Lowercase Alphabet and Numbers Etched Dies. Adhere the sentiments and then arrange all the flower pieces. Finish by adding sequins and enamel drop on the flower petals.

What's your favorite flowers? For smell, Gardenia and Roses are among my favorites. I have friends in mine to whom I want to give this card to. The thing with this kind of card, they're kind of hard to mail because it's 3D, so hand deliver is the way to go for me. That's all for me today. Stay tune for my next floral card. :)

Tuesday, April 5, 2022

The Ton Spring Release

Hi all and welcome to The Ton's mini spring release. For this release, The Ton is introducing 2 stencil sets and 1 stamp set and I just love them, cause I love flowers!!

For my 1st card, I am showcasing this beautiful Gentle Peonies stencil set.


This stencil is a 6 layered stencil, so you will get pretty detailed layers. I decided to go with cooler tone and use Arctic Sky, Parisian Blue, Italian Denim and True Navy for the flowers and Matcha ink for the leaves. For the center of the flower I used Lemon Drop. Once I am done with the stenciling, I trim the side of the panel slightly thinner than the card base. Then I cut the panel horizontally in two. Add some gold strips and sentiment, then trim the bottom panel to fit the card base. For extra sparkle I added some glitter to the center of the flowers.

Next, I am showcasing the Cosmos Mail set. Now, obvious use would be to stamp this set on your envelope to make it all fancy and pretty. But, I want to show you how you could also use it for your card.


I simply stamped the image and colored it with Copic. Adhere the panel to card base. Then, I simply covered the lined area for address with sentiment. In fact, I was able to position the sentiment in a way where the lines becomes a border for the sentiment.

There you go, a couple cards from me and my teammates has created some gorgeous projects for this release as well. Please visit the links below:

Well peeps, that's all from me today. Hope you enjoy today's cards and may your week starts off wonderfully. 

Spellbinders' March Stitched Die

Hi there creative peeps. Happy March. I want to pop in today to share my Spellbinders' March Stitching Die Club card. Spellbinders has l...