I started by ink blending some blues for the panel. Once that done, I hot foiling the background with Dazzling Diamonds Glimmer Hot Foil Plate and Prism hot foil roll. Love, love, love this background. I mean, the glimmering silver against those blue are just gorgeous. adhere the panel to card base. Next, I die cut and put together the snowman. adhere to card. Finish by stamping and heat embossing sentiment from Dancin' Holiday Sentiment Clear Stamp set. Oh yes, for the sman hat I also added liquid applique for extra texture.
Sunday, August 14, 2022
Spellbinders' Dancin' Snowman
I started by ink blending some blues for the panel. Once that done, I hot foiling the background with Dazzling Diamonds Glimmer Hot Foil Plate and Prism hot foil roll. Love, love, love this background. I mean, the glimmering silver against those blue are just gorgeous. adhere the panel to card base. Next, I die cut and put together the snowman. adhere to card. Finish by stamping and heat embossing sentiment from Dancin' Holiday Sentiment Clear Stamp set. Oh yes, for the sman hat I also added liquid applique for extra texture.
Thursday, August 11, 2022
Sellbinders' Glimmer Hot Foil of The Month
Hi peeps. I am excited to share Spellbinders' August Glimmer Hot Foil of The Month set. This month's glimmer set is beautiful.
I definitely have a weakness toward floral hot foil and when I saw this month's set, I might have squealed a bit. Hah!
To start, I hot foil the flower with Rose Gold hot foil. Once done, die cut it with the coordinating die and colored with Copic. As usual I went with soft colors. Put aside and work on the background panel, which I embossed with Party Spots Embossing Folder. This embossing folder probably is one of my favorite as it's so versatile. Adhere it to card base. Next, I hot foiled the sentiment that came in the set on a wide strip of cardstock. For the sentiment I used Matte Gold hot foil roll. By the way, this is the one hot foil that I feel is a must to have. At least for me. Yep, a bit obsessed with this roll. Adhere to card and finish by adhering the foiled flower with foam adhesive and add some mix size sequins.
Pretty easy peasy and I feel like the hot foil really help add some oomph to a clean & simple card. What do you think? Well, that's all from me today and I wish you all a happy day.
Tuesday, August 2, 2022
Spellbinders' August Small Die Cut of The Month
I know I want to have texture for the background of this card, so I decided to start with the background first, using Tile Mosaic 3D Embossing Folder. Adhere the panel to the card base. Put aside. Then I die cut a bunch of the flowers and leaves from various colored cardstock. Before adhering the flowers, I thought I better make sure where I want to place the sentiment and do the flower arrangement around it. I grab my favorite, More Sentiments Hot Foil set. Once I am done with the sentiment, I just play around with the flowers placement. Finished by adding some sequins and enamel dots to the center of the flowers.
Monday, August 1, 2022
Spellbinders' August Large Die Cut Of the Month
Hi all. Wow, it's already August. I feel like I have to pinch myself, since in my head it feels like we had just celebrated New Year not that long ago. Anyway, as we enter the August month, I am here today to share Spellbinders's August Large Die Cut of The Month set.
August's large die set is simply sweet & fun. I mean, who doesn't love strawberry? This card is full of texture. I simply die cut all the pieces several times to create this basket full of strawberry. I ink blend a bit of gray to the strawberry to create shadow & depth. Arrange all the pieces on the card base. Then, for the sentiment I hot foil the birthday sentiment from More Sentiments Glimmer Hot Foil Plate. Finished by adding some rhinestones.
I really love the way this card turned out and till I find the recipient for this card, it's on display on my craft room shelf just because it makes me happy. That's all from me today. May your August starts off in a wonderful way.
Thursday, July 21, 2022
Spellbinders' Stitched Ornament
Hi all. I have more stitching card to share. This time, I am showcasing Spellbinders' Stitched Ornament Etched Dies.
I love the pretty details on this die. And, with the stitching you can go as detailed or as simple as you want. You could even not do the stitching and just let the dot patterns shine by itself. On my card I just did some simple stitching. Once I am done with the stitching, I adhere the scallop detail that I cut from silver paper and added some rhinestone to the ornament. Adhere it to card base. To make it even more Christmasy (is that a real word?? Hah!) I decided to add a Poinsettia from Holiday Blooms Etched Dies set. Finished by adding hot foiled sentiment from a previously released Mini Christmas Sentiment set.
This card is pretty simple in design, yet it offers lots of texture. I hope you enjoy it. I am hoping to put in some crafting time this weekend and hopefully I'll get to share more cards here. Finger cross. Crafting time been hit and miss this past few months, so wish me luck. Have a blessed day all.
Monday, July 18, 2022
Spellbinder's Balsam & Berries
This set is great for making quick card in my opinion. I simply stamped and colored the image. Once done, trimmed the panel and layered it with gold cardstock to create trim all around Then adhere to card base. Super easy. Now, my next card is s bit more elaborate. Introducing Spellbinders' Jasmine Etched Dies and Winter Evergreen Foliage & Lady Bugs Etched Dies.
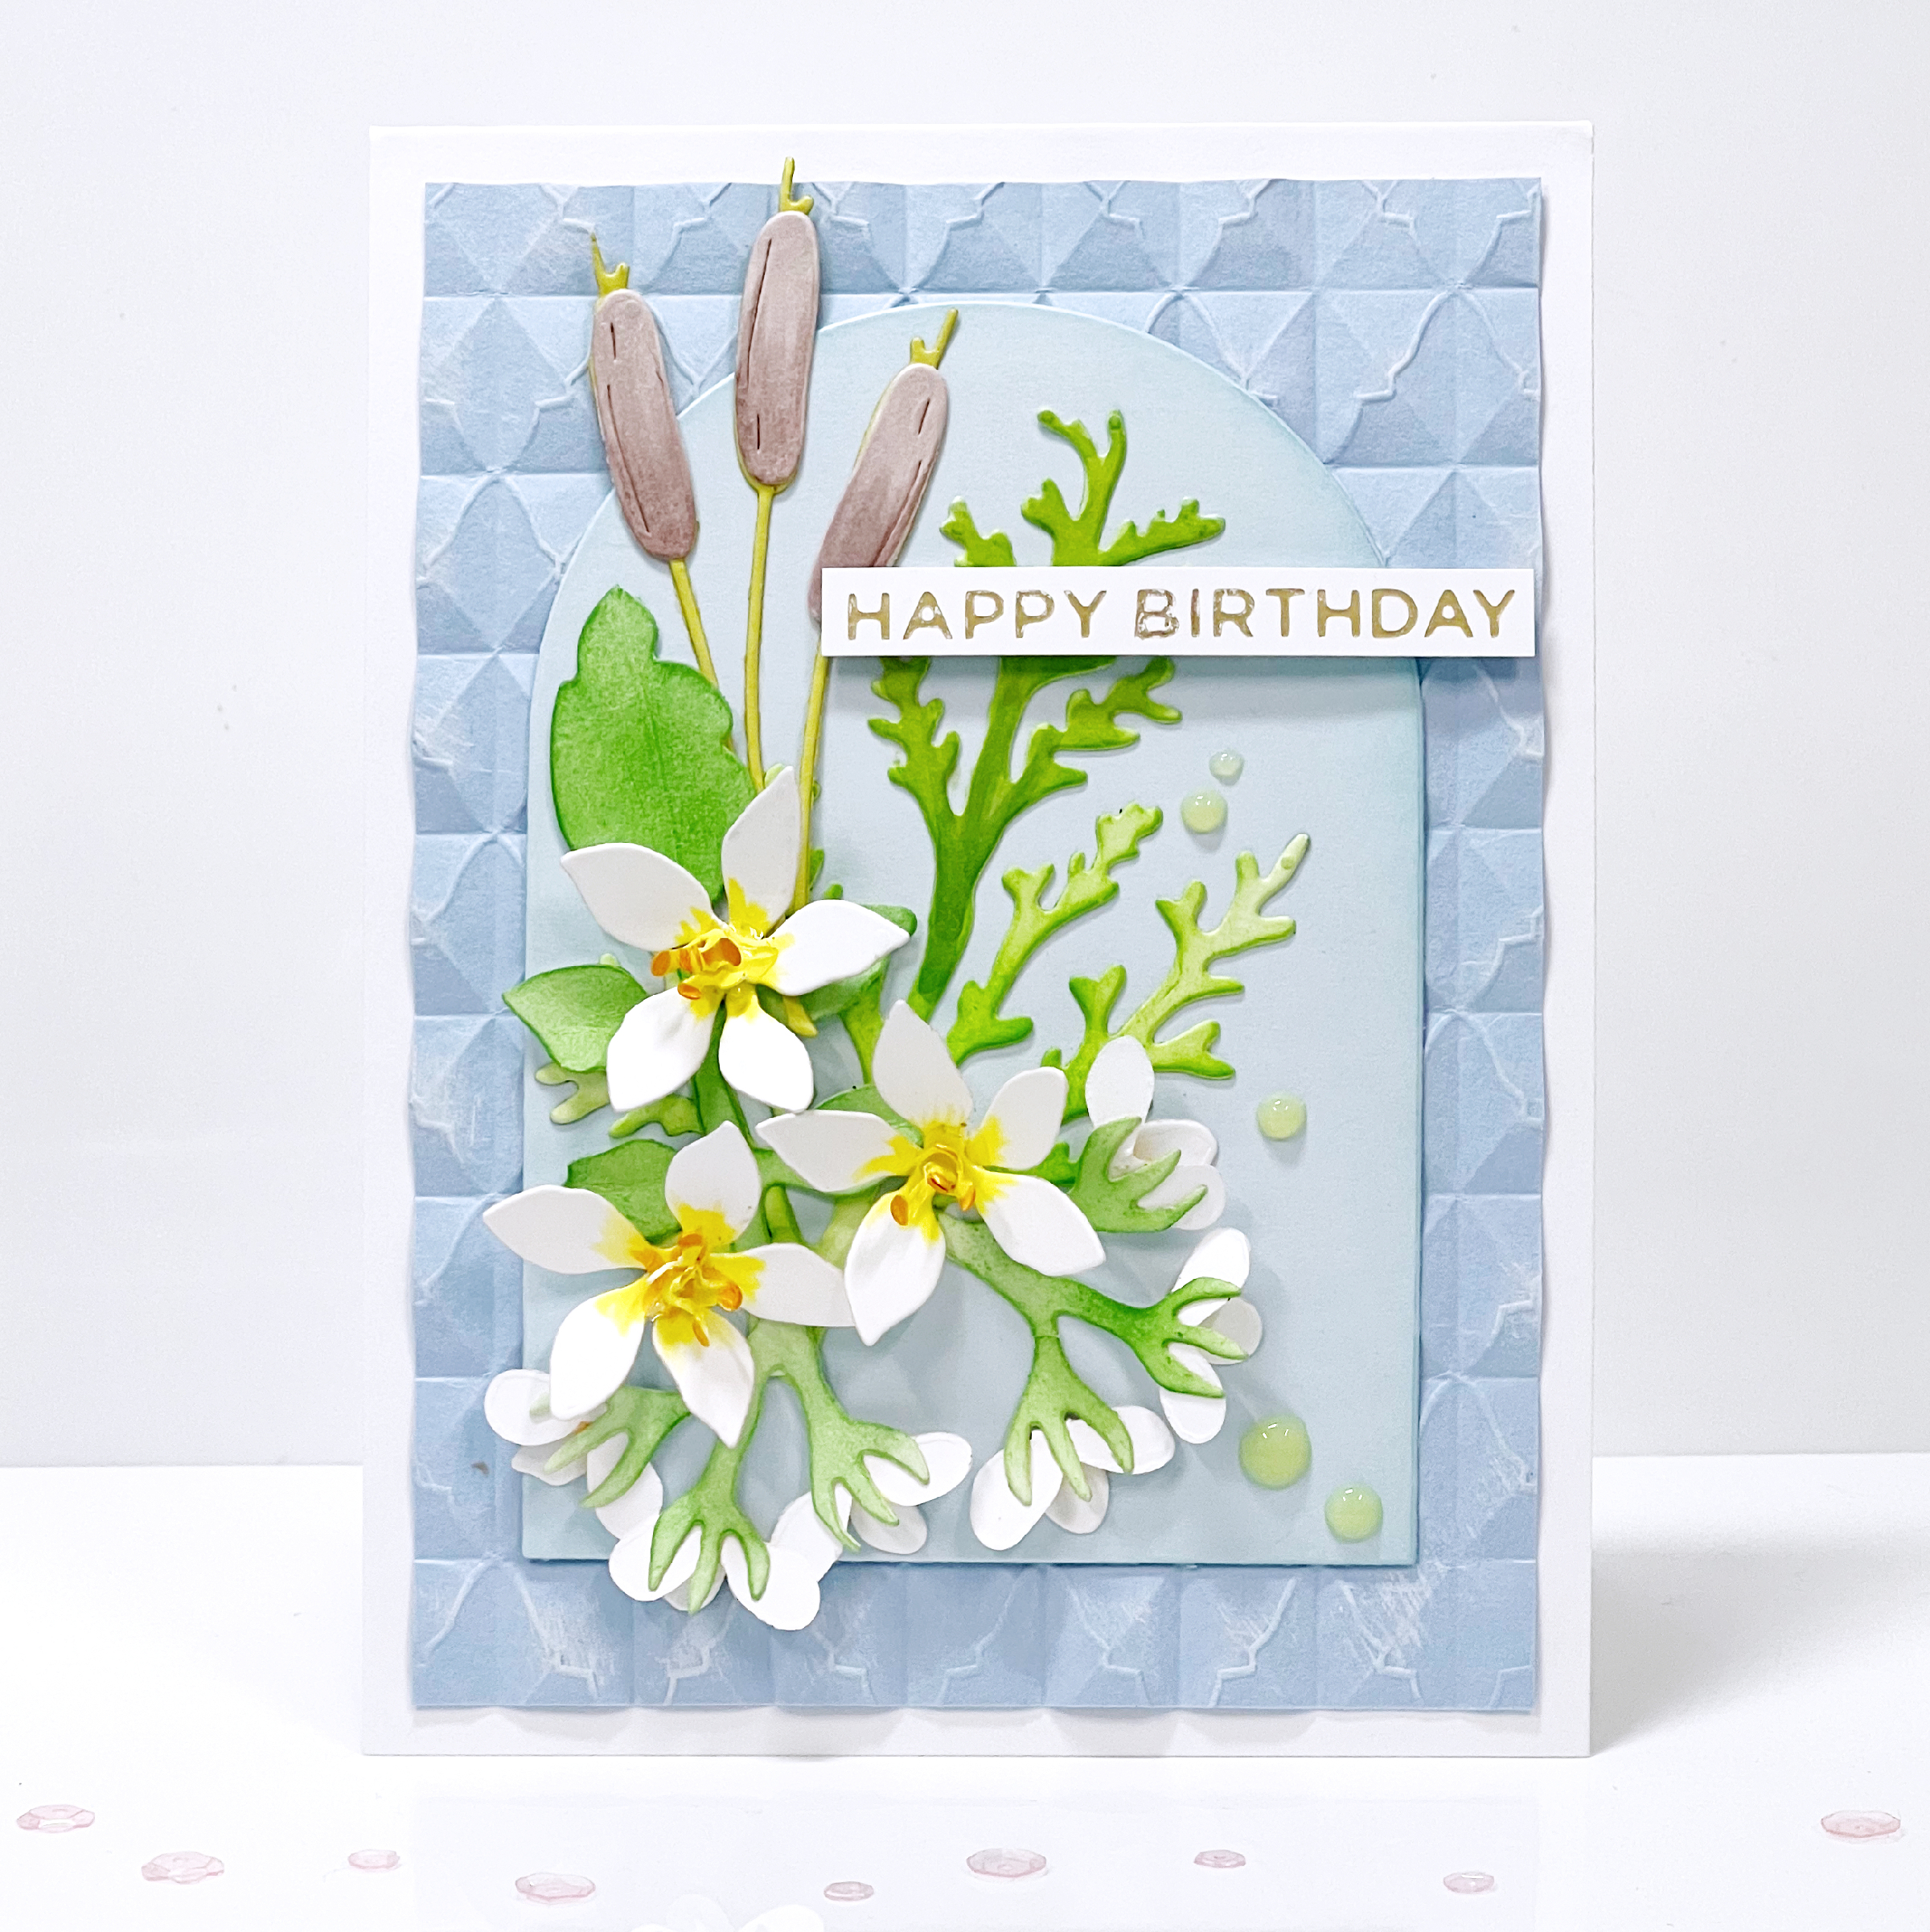
I die cut all the flower & greenery parts from white cardstock and then colored them with Copic and inks. Then I die cut an arches using one of the arch from Essential Arches Etched Dies. Sinceit seems pretty plain, I decided to ink up the edge of the arch a bit and arranged all the flower pieces on the arch piece. For added texture, I used Tile Mosaic 3D Embossing Folder on the background panel. Adhere everything to the card base. Finish by adding some enamel dots.
Saturday, July 16, 2022
Spellbinders' Stitched Joy
Friday, July 15, 2022
Spellbinders' Holiday Blooms
This is such a fun card to make. To start, I hot foiled the card panel with Crossed Line Cardfront Gimmer Hot Foil Plate with Moondust hot foil. Then I trimmed the panel and adhere it to the card base. Next, I die cut all the flower pieces from various color cardstock and arrange them on the card. Finish by adding sentiment cut out from metallic cardstock.
Between the die cut blooms and the hot foiling, this card is full of texture. Well peeps, I hope you enjoy today's card. May your Friday be a good one and I'll be back tomorrow with more new release project.
Thursday, July 14, 2022
Spellbinders' Glimmer Greetings Collection
Look how pretty that floral diamond came out. I trimmed the foiled diamond and layered it with white cardstock. Next, I die cut some floral pieces from Holiday Blooms Etched Dies set. After going back and forth with what to do for the background, I decided to use Party Spots Embossing Folder. Once I adhere the spotty panel, I simply arranged all the other pieces on top of it. Finish by adding sentiment from More Sentiments Hot Foil set.

Well, that's all from me today. More coming from this new release. Stay tune and have a blessed day all.
Friday, July 8, 2022
The Ton's July Release
Hi all and welcome to The Ton's August release. I am excited to share this release, so let's get on with it, shall we?
For my first card, I am showcasing this fun & gorgeous Pretty Pansy Fields stencil set.
Anna
Tae Eun
Vera <-- you are here
Brenda
Patchwok Boo
Hi there. Am popping up to share this cutie patootie ghost courtesy of Spellbinder's Felt Patchwork Boo Etched Dies by Nichol Spohr . I...
-
Do you know that today is World Kindness Day? I think our world need to really focus on spreading kindness and since Caring Hearts C...
-
Hi peeps. This is my 2nd post for today. For my Avocado Arts post please scroll down. Welcome to the Seasons Givings Blog Hop! T...