Thursday, July 21, 2022

Spellbinders' Stitched Ornament

 Hi all. I have more stitching card to share. This time, I am showcasing Spellbinders' Stitched Ornament Etched Dies.


I love the pretty details on this die. And, with the stitching you can go as detailed or as simple as you want. You could even not do the stitching and just let the dot patterns shine by itself. On my card I just did some simple stitching. Once I am done with the stitching, I adhere the scallop detail that I cut from silver paper and added some rhinestone to the ornament. Adhere it to card base. To make it even more Christmasy (is that a real word?? Hah!) I decided to add a Poinsettia from Holiday Blooms Etched Dies set. Finished by adding hot foiled sentiment from a previously released Mini Christmas Sentiment set.

This card is pretty simple in design, yet it offers lots of texture. I hope you enjoy it. I am hoping to put in some crafting time this weekend and hopefully I'll get to share more cards here. Finger cross. Crafting time been hit and miss this past few months, so wish me luck. Have a blessed day all.

Monday, July 18, 2022

Spellbinder's Balsam & Berries

Hi there. Today, I am sharing a couple cards. First up is this card featuring the newly released Spellbinders' Balsam & Berries Clear Stamp Set.


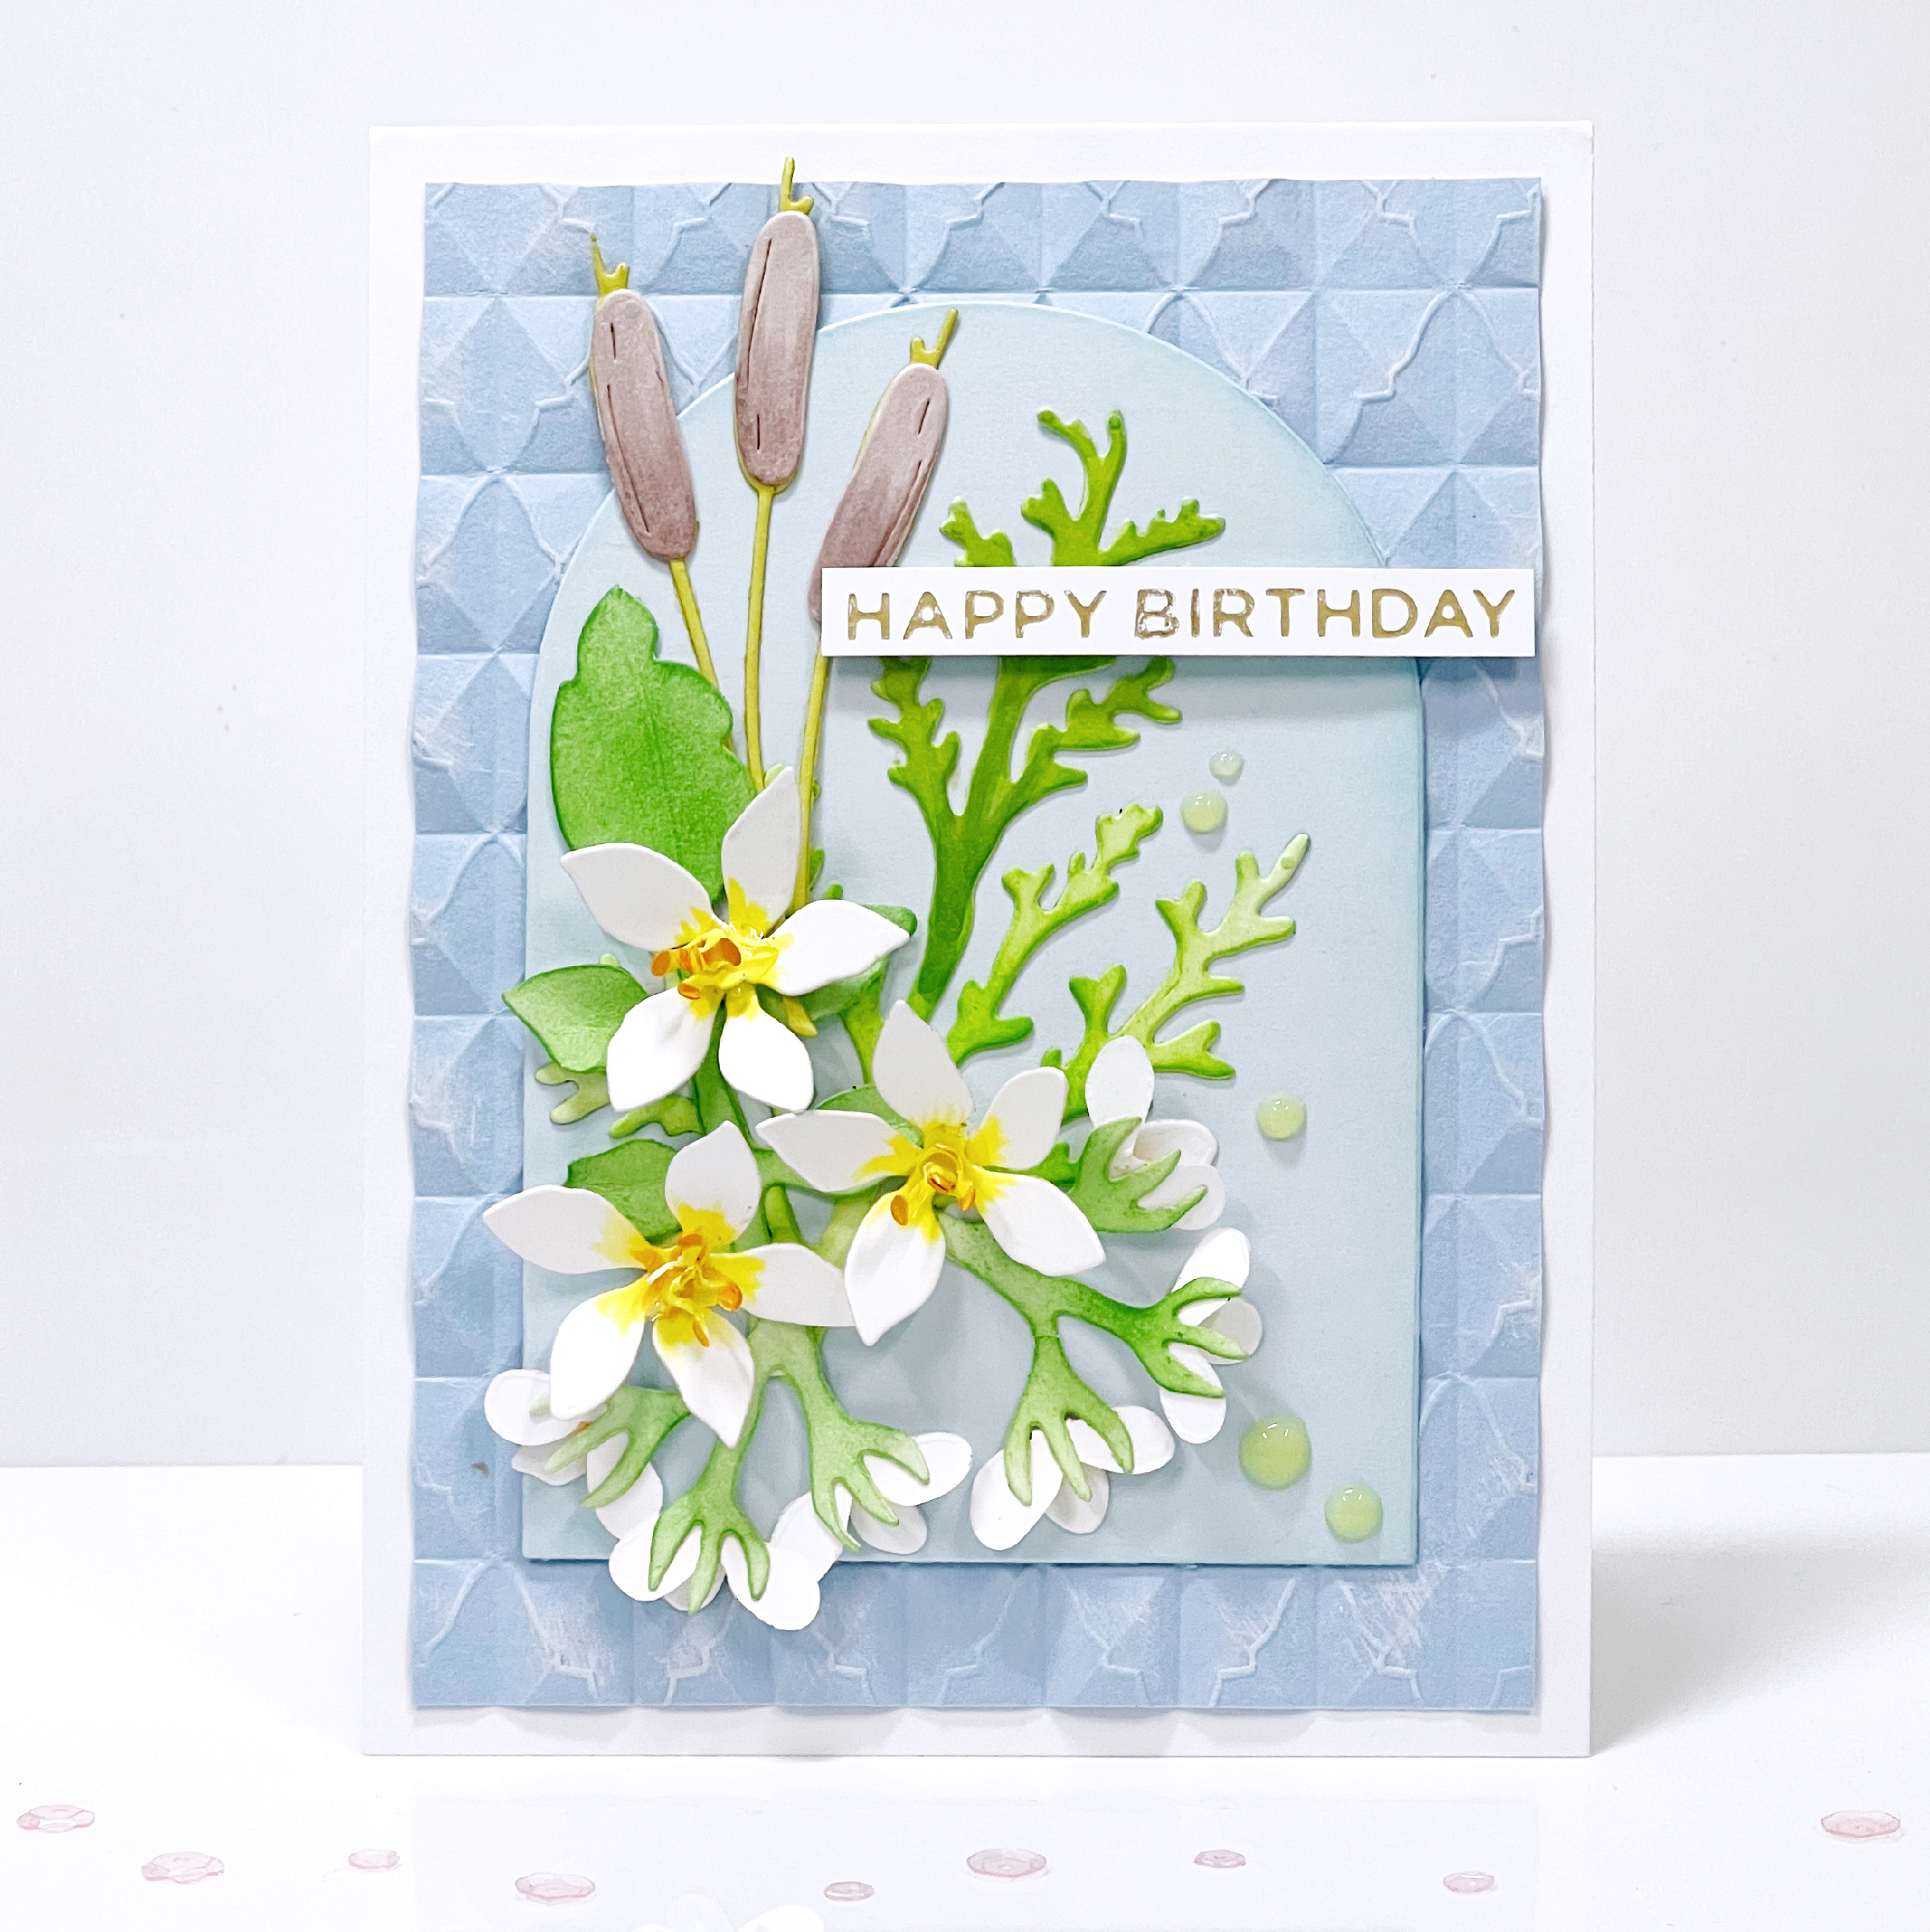
This set is great for making quick card in my opinion. I simply stamped and colored the image. Once done, trimmed the panel and layered it with gold cardstock to create trim all around Then adhere to card base. Super easy. Now, my next card is s bit more elaborate. Introducing Spellbinders' Jasmine Etched Dies and Winter Evergreen Foliage & Lady Bugs Etched Dies.


 I die cut all the flower & greenery parts from white cardstock and then colored them with Copic and inks. Then I die cut an arches using one of the arch from Essential Arches Etched Dies. Sinceit seems pretty plain, I decided to ink up the edge of the arch a bit and arranged all the flower pieces on the arch piece. For added texture, I used Tile Mosaic 3D Embossing Folder on the background panel. Adhere everything to the card base. Finish by adding some enamel dots.

Isn't the jasmine just  lovely? I love the smell of jasmine as it reminded me of my grandma. She used to put fresh jasmine in her closet and I always remembered that. I hope you enjoy today's cards and may your week starts off in a wonderful way.

Saturday, July 16, 2022

Spellbinders' Stitched Joy

Hi all. Hope you're enjoying a good weekend. Quick post to share this card I made using Spellbinders' Stitched Joy Etched Dies. Christmas is one of my favorite season and I don't mind going all out for Christmas card, which means lots of stitching. Hah!


For the background, I used Tile Mosaic 3D Embossing Folder. Die cut the Joy piece and did the stitching. Once that done, I die cut the alphabets from silver cardstock. Adhere the whole piece to the card base.

There's really not much step on making this card, it just the stitching that takes time. I like doing the stitching while binge watching with hubby. Get 2 things done at once. Well peeps, that's all from me today. May your weekend be a good one. Cheers.

Friday, July 15, 2022

Spellbinders' Holiday Blooms

As promised, I am back today with more project to celebrate this month's release from Spellbinders. For today, I want to share a card showcasing Holiday Blooms Etched Dies from Celebrate the Season collection, which I paired with Mix & Matched Holiday Greetings Etched Dies and Crossed Line Cardfront Gimmer Hot Foil Plate.


This is such a fun card to make. To start, I hot foiled the card panel with Crossed Line Cardfront Gimmer Hot Foil Plate with Moondust hot foil. Then I trimmed the panel and adhere it to the card base. Next, I die cut all the flower pieces from various color cardstock and arrange them on the card. Finish by adding sentiment cut out from metallic cardstock.

Between the die cut blooms and the hot foiling, this card is full of texture. Well peeps, I hope you enjoy today's card. May your Friday be a good one and I'll be back tomorrow with more new release project.

Thursday, July 14, 2022

Spellbinders' Glimmer Greetings Collection

Hi all. Woohoo, it's new release time from Spellbinders. Am so in love with this month's release as it's all about Christmas. I always love working on Christmas projects, especially when I have good sets to work with. I have several cards lined up for this release and I'll be sharing them all in the next few days.

For today, I want to share a couple cards using the new glimmer sets. First up is this card I made using 
Blooming Ornament Glimmer Hot Foil Plate & Die set.  I love this gorgeous set.


To start, I hot foil the ornament and the bow using Matte Gold hot foil roll. Then, I die cut the pieces and colored the flowers. Before adhering the ornament, I decided to add some greenies from Holiday Blooms Etched Dies set. Arranged the greenies behind the ornament. For the sentiment I used a sentiment from previously released Mini Christmas Sentiment strip hot foil plate. Adhere the sentiment with foam adhesive and finish by adding some enamel drops.

For my next card, again I used Blooming Ornament Glimmer Hot Foil Plate & Die set and this time, I save the positive part for another project and use the negative part with Glimmer Essential Solid Diamond Hot Foil Plate.


Look how pretty that floral diamond came out. I trimmed the foiled diamond and layered it with white cardstock. Next, I die cut some floral pieces from Holiday Blooms Etched Dies set. After going back and forth with what to do for the background, I decided to use Party Spots Embossing Folder. Once I adhere the spotty panel, I simply arranged all the other pieces on top of it. Finish by adding sentiment from More Sentiments Hot Foil set.

I love this Moondust hot foil. Below you could see how the color look different under different lighting.


 Well, that's all from me today. More coming from this new release. Stay tune and have a blessed day all.

Friday, July 8, 2022

The Ton's July Release


Hi all and welcome to The Ton's August release. I am excited to share this release, so let's get on with it, shall we?

For my first card, I am showcasing this fun & gorgeous Pretty Pansy Fields stencil set. 


This set is simply beautiful and I plan on playing more with this set. That's what I love about The Ton sets, so many of them are simply timeless and I can honestly say I still have most of my sets because I know I could and will use them again and again. For this card I inked up the stencil with Soft Amethyst, Iris Blooms, Violet Fringe, Lemon Drop and Matcha ink. Simply trim the panel once I am done, adhere to card base and finish with the sentiment.

On to my 2nd card. For this one, I used Pretty Peony Close Up stencil and paired it with previously released Love & Hugs Word Plates dies.


Gotta love stencils. It makes card making quick and easy. And, last but not least am showcasing Fierce Ferns set.


I simply ink blend Hot Tourmaline, Caribbean Turquoise and Soft Garden on a panel of cardstock and then stamped the panel. I decided to add some doodling to some of the leaves to create interest. I think this is a fun way to get more out of your stamp.

Well peeps, t hat's all from me for today. I'll be sharing  more from this release in the coming days and on The Ton's blog. Hope you all having a wonderful weekend.

The Ton
Anna
Tae Eun
Vera <-- you are here
Brenda

Friday, June 17, 2022

Spellbinders' Little Chickadee

Today, I am sharing one of my favorite set from Spellbinders' Birthday Celebration collection. It's the Little Chickadee Etched Die set. I love, love this set. I do have a weakness for birds. After all, we have made our house a place for birds to gather in the middle of busy Houston area. We have 4 bird houses and 1 squirrel house and boy, those birds could eat a lot!! I mean, we could go through 20;b bag of bird food in a week. Hubby and I enjoy watching them from our patio.

So, here's my card to celebrate my love of birds.


For the birds, I die cut all the pieces from white cardstock and then colored each piece with Copic. Of course, you could easily use color cardstock as well, but when I started I really wasn't sure what color combination I want to use. It's easier for me to start with white cardstock and figure thing sout afterwards. Once done, put together all the pieces. Since the birds are so colorful,  I decided to let them take center stage by using white card base. This definitely one of my favorite way to make card. Lots of white space.


To finish the card, I hot foiled a sentiment from Everyday Sentiments II set and layered the strip of sentiment with aqua colored cardstock to make the sentiment stand out a bit.

That's all from me today and I wish you all a beautiful day. May your weekend starts off wonderfully.

Thursday, June 16, 2022

Spellbinders' Stitched Fanfare

We're continuing with Spellbinder's 20th birthday celebration. Today, I am showcasing Spellbinders' Stitched Fanfare Etched Dies from their Birthday Celebration Collection. When I was making this card, the question I got from hubby was how long did it take me to make this card? I am like, hm... it still in progress, so I'll get back to you on that. Hah!

This card will definitely go to special people that I know won't ever throw my card out. I mean, seriously, this card is what I called a labor of love.


I started by die-cutting the panel and then since I love colors I decided to go all colorful. Once I am done with the stitching, I was like oohh, this card has such a fiesta feeling to it in my opinion. Which is perfect for birthday theme card, right? For the sentiment I used two sets, Just Wanted To Say Glimmer Hot Foil Set and Yana's Layered Script Sentiments Etched Dies.

What's the longest time you ever spend in making a card? To me, this one feels like one of the longest, but the good thing is it's a relaxing thing for me, kind of like therapy. Well, that's all for me today. Hope you're having a great day.

Wednesday, June 15, 2022

Spellbinders Leafy Sprigs

Hi peeps. Today I want to share this card I made using the new set from Spellbinders' called Leafy Sprig from Just Wanted To Say Collection.  I love the shape of these leaves and decided to go all colorful to showcase their beauty.


I simply die cut the leaves from various color cardstock. Knowing which sentiment I want to use, I arrange the leaves to create borders on my card. Then I stamped the sentiment from Sending You - Clear Stamp of the Month set. Trim the sentiment strip and layered it with holographic cardstock for some extra shimmer. I l think the extra shine makes this card fun. Finished by adding some enamel drops.

CAS card still get my heart flutter. Hope you enjoy today's card and I'll see you tomorrow with more Spellbinders' project. :)

Tuesday, June 14, 2022

Spellbinders' Birthday Celebration Collection

Hi peeps. How's it going? Phew... almost half of the year gone by. Crazy isn't it? Anyway, I am pretty happy that this month, I get to craft quite a bit. My crafting slow down a lot in previous months and am excited to be spending time in my happy place again.

Today, I want to share several cards that I made for Spellbinders for their 20th anniversary festivities. We have quite a few celebratory sets released today and I can honestly tell you that I was so excited when I saw sneak peek of all the sets. o many fun ones!! For my 1st card I played with some hot foiling. Yay! I love doing hot foiling. Especially when they came out good. Hah!

Here, I am showcasing So Many Candles Glimmer Hot Foil Plates. Love the festive look!


I simply hot foil the plate, trim the panel and adhere it to card base and finish with sentiment from Awesome Birthday Clear Stamp Set. Super fun set to make quick birthday card.

For my 2nd card, I played with Awesome Birthday Clear Stamp Set and paired it up with Hand Drawn Scallops Embossing Folder and Stylized Happy Birthday Etched Dies.  


I started by watercoloring a panel of watercolor cardstock and while it's still just a little bit damp I got it embossed with the embossing folder. Once the panel completely dry, adhere it to the card base. Next, I stamped the birthday candle and cut it with my Brother Scan 'n Cut. Finished by adding some sequins and the birthday sentiment.

For my 3rd card, I pretty much repeated the design with slight variation. This time I paired the Awesome Birthday Clear Stamp Set with Party Spots Embossing Folder and Happy Occasion Words Etched Dies.


I will have more cards to share throughout this week, so stay tune. May your day be a good one. Cheers.

Merry Mayhem

 Hi friends. How's it going. I know, my poor blog been so neglected. I do still making cards quite a bit, but I feel like people don...